
Restoration and painting of a US M1 helmet with a crushed cork texture
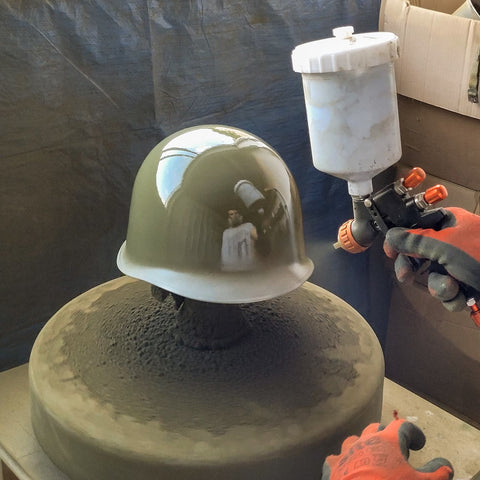
First coat of paint on a helmet shell
The US M1 helmet is an iconic symbol of military history, and many enthusiasts seek to restore and customize them. In this article, we'll explore a unique method for giving your US M1 helmet a distinctive look by using a textured, ground cork finish during the painting process. This technique not only provides an authentic appearance but also offers advantages in terms of discretion and reflecting sunlight .
The advantages of the texture of crushed cork
By mixing ground cork with paint, the helmet loses its smooth appearance and acquires a rough texture . This reduces the reflection of sunlight , thus improving the soldier's stealth in the field. This technique is ideal for an authentic and historically accurate rendering.
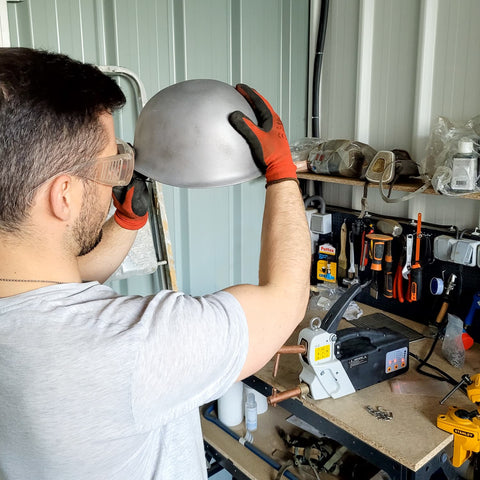
Helmet sandblasted and ready to be painted
Helmet preparation
Before applying the crushed cork texture to your US M1 helmet , proper preparation is crucial. This preparation involves removing the existing paint using various methods: chemical products , mechanical sanding , or air abrasive blasting , a professional method that combines compressed air and abrasives for optimal results.
Application of the crushed cork texture
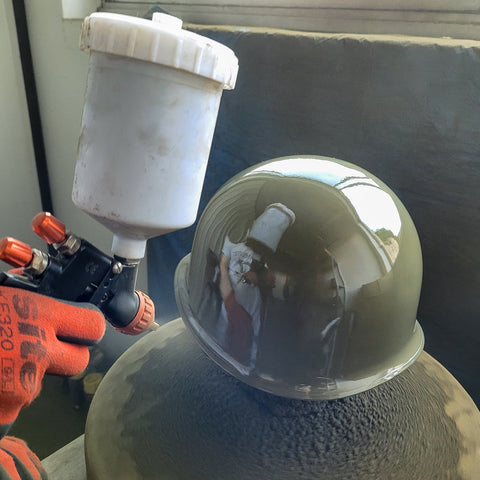
Apply a uniform and fairly thick coat of paint
- Apply a first coat of fresh paint to create a uniform base.
- Use a container with a perforated lid to sprinkle the crushed cork evenly.
- Sprinkle the cork evenly and consistently over the fresh paint, adjusting the height to achieve the desired effect.
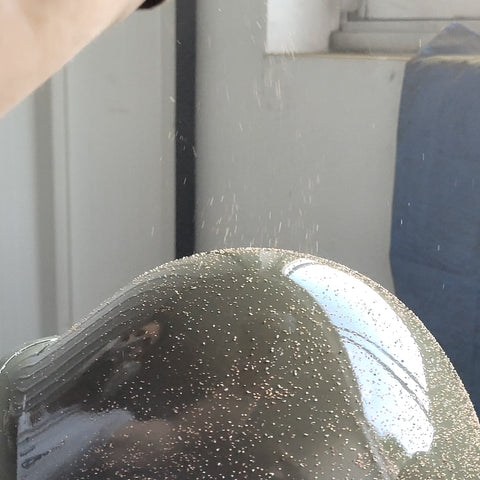
The cork is placed on the still-wet paint.
The even distribution of cork is essential for a consistent result. Varying the sprinkling heights can create varied visual textures. The goal is to maintain a cohesive surface while preserving a natural and historical appearance.
Application of the final layer and finishing
- Cover the cork with a thin layer of spray paint (olive drab or khaki) to fix the texture without masking it.
- Allow to dry for at least 24 hours.
- Optionally add a second coat for optimal adhesion and a uniform finish.
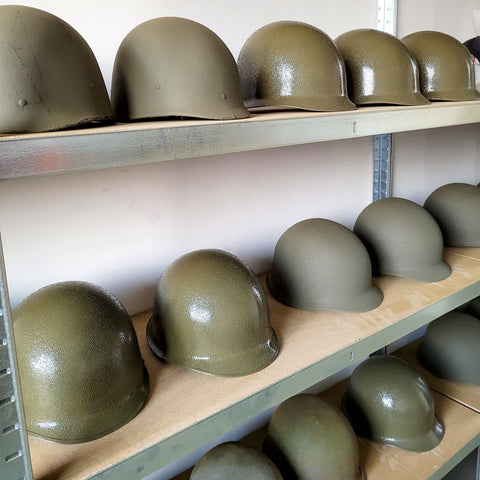
Drying phase of US M1 helmets
Don't forget to paint the inside of the shell if it has been stripped. Once all the layers are dry, the helmet is ready to be used or displayed, with a complete finish including the chin straps.
Conclusion
Restoring and customizing a US M1 helmet with a crushed cork texture offers a unique and authentic finish. Meticulous preparation, even application, and carefully selected paint layers guarantee a durable and aesthetically pleasing result. Take advantage of this process to make your helmet truly one-of-a-kind.
1 comment
ou peut on trouver du liège broyé
———
Mon Casque M1 replied:
Bonjour !
Vous cherchez du liège broyé ? C’est simple ! Vous pouvez en trouver directement dans la boutique en tapant “liège” dans la barre de recherche.
N’hésitez pas si vous avez d’autres questions !
Cordialement,
>